
Art Portfolio's then and now!


Art Portfolios then
 and now......


I attended Board Builder training yesterday. I had no idea what it was as we logged in to our district's Discovery Education website. 

I was blown away by the Board Builder section on this site. It is amazing. Not only can student's watch videos about our learning, but a student can make a digital Portfolio board and store the images in the Discovery cloud instead of on our district servers. The bonus, the kids can do it themselves. 

 First the kids logged in and set up their Portfolio Board. They could set the fonts, colors etc. The Fun Part! 
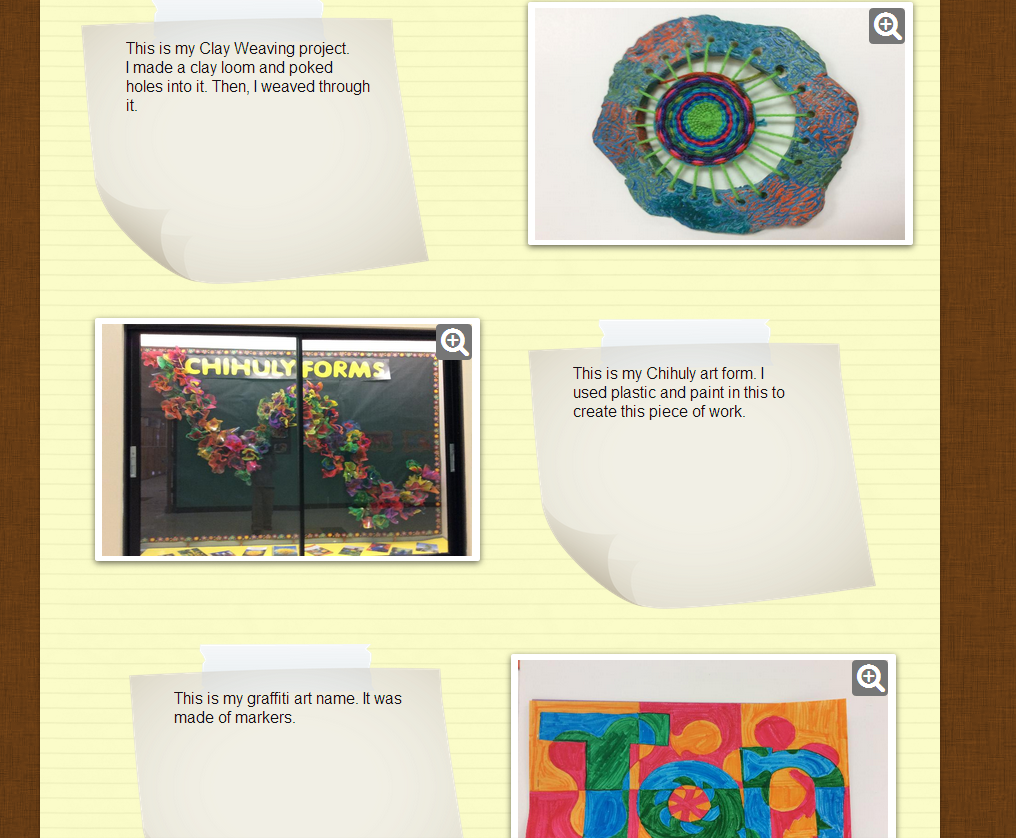
I had them make a section for each piece of art work they have 
completed so far this year. 
They can also do this from home or on indoor recess days. 

The second part involved using our new IPad mini's.
 Some of my students also BYOD. (Bring their own device)

They took pictures of their art work, cropped and edited them on the ipads. 
The next step involved opening Discovery Education on the ipads and logging into their accounts. From there all they had to do was upload their images into the media frames. So easy and I didn't have to upload anything from my computer or drop box. Before logging off,  I asked them to share their boards with me. 


I was able to open their boards and leave comments. 
I cannot tell you how excited they were to create the boards and take pictures. Now they can share their work with other teachers, parents and peers!


Comments

  1. Thanks for posting Beth! I will have to have do extra steps since we don't have iPads(sad face) but it sounds usee friendly

    ReplyDelete
    Replies
    1. If their photos are on the drive they can up loads, but iPads make it easy. I used my phone and two minis to get started.

      Delete
  2. No way!! I've been doing digital portfolios for years now, but the students always saved to their home drives. This is awesome!!!

    ReplyDelete
    Replies
    1. It is super easy Renee. I knew you would be excited!

      Delete

Post a Comment

Thank you for visiting and leaving a comment. Beth

Most popular post

Kandinsky Trees

My first graders really need help with their fine motor skills this year. After completing a very successful Kandinsky Concentric Circle painting lesson noted below, I followed up this past week with a tree inspired lesson. Once again, I found my inspiration from  Jen Draw the Line At  and I used her lesson suggestions for this very successful lesson. My student's used Crayola Metallic crayons instead of the Crayola Construction paper crayons and we used juice lids for some bigger circles in the stamping part of the lesson.  Day 1 On day two constructed the trees and circle leaves. I passed out a 12 x 4 inch piece of black paper and had two different sizes of  square paper for the circles. Yes, this was a challenge since we did not use pencil, but we drew with our scissors. Day 2 I will definite repeat lesson for next year! I will be displaying these soon.  Displayed artwork is posted  HERE

Monet's Pond

The Dallas Museum of Art  has a wonderful   Monet Painting  in a beautiful gold frame which inspired me to create this lesson for our Big Art Day which is fast approaching in Texas schools.  For our Big Art day this year I have a Theme....Circle Art!  Themes are the way to go when organizing events.  I love this new lesson that was inspired by one of my favorite artists,  and two favorite bloggers:  Painted Paper and Cassie Stephen's who also use themes.  I ordered the 10 inch cardboard circle rounds for this lesson, the same size  Cassie used in her Dot Day Art .  School Specialty has various sizes. The kids loved painting on this canvas instead of paper.  We read about Monet's garden and look at prints of his masterpieces. I even show them some of my pictures that I took when I   visited his garden in France.   On day one, we painted the pond and the water lily pond on a 10 inch cardboard circle  on the white side with Pr

Clay and Weaving!

I'm brave, I tried a new lesson again.... I can say as we are completing these clay frames that you have to follow some basic rules or you will have broken frames. We have had only 3, but I did make extras.  My 4th graders tackled this lesson with stoneware clay, and finished them with oil pastels, one color of watercolor paint and I painted modge podge on them when dry.   The texture is the key part of the coloring process! I have rollers and rubber texture mats.  At least pencil think and more than 2 fingers in width.  You need some lid tracers and a pin tool. Don't try to cookie cutter it.  I strongly recommend 15 or 19 holes punched with a straw. You must have an odd number!! If they go hole craze, pop out the clay from the straw and plug the holes.  I found the directions for weaving the warp threads here on Cassie Stephen's blog.   I am also doing her plate weaving at the same time with 2nd grade.  This is ho