
#ATCSwap update


My 5th graders participated in the #ATCswap that Minimatisse organized this year. My goal is for my students to learn that art it not just inside the classroom, but everywhere. 
I have to say as a teacher, this was very exciting for me and the students were equally excited.

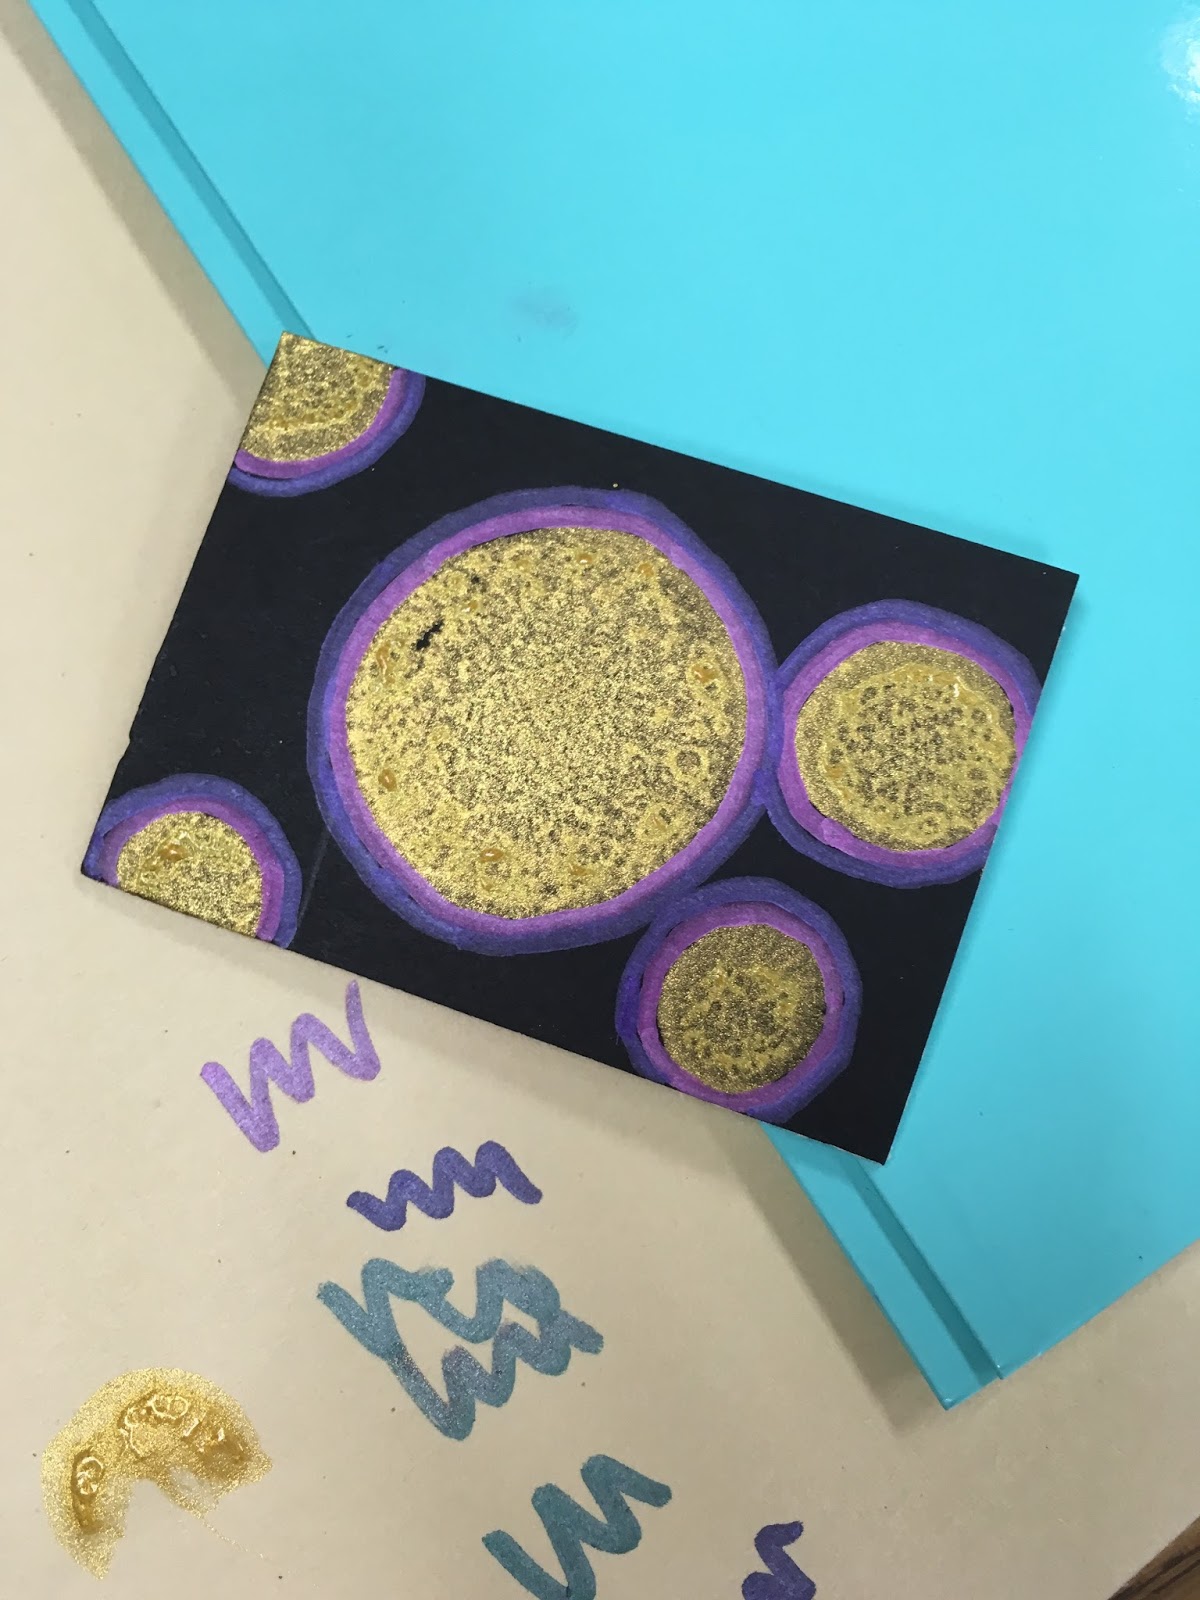
Dot Day was a blast! Using the 2.5 x 3.5 canvas we were free to experiment.


I used some of Nic's awesome lessons on her her blog and youtube site also. Thanks!!


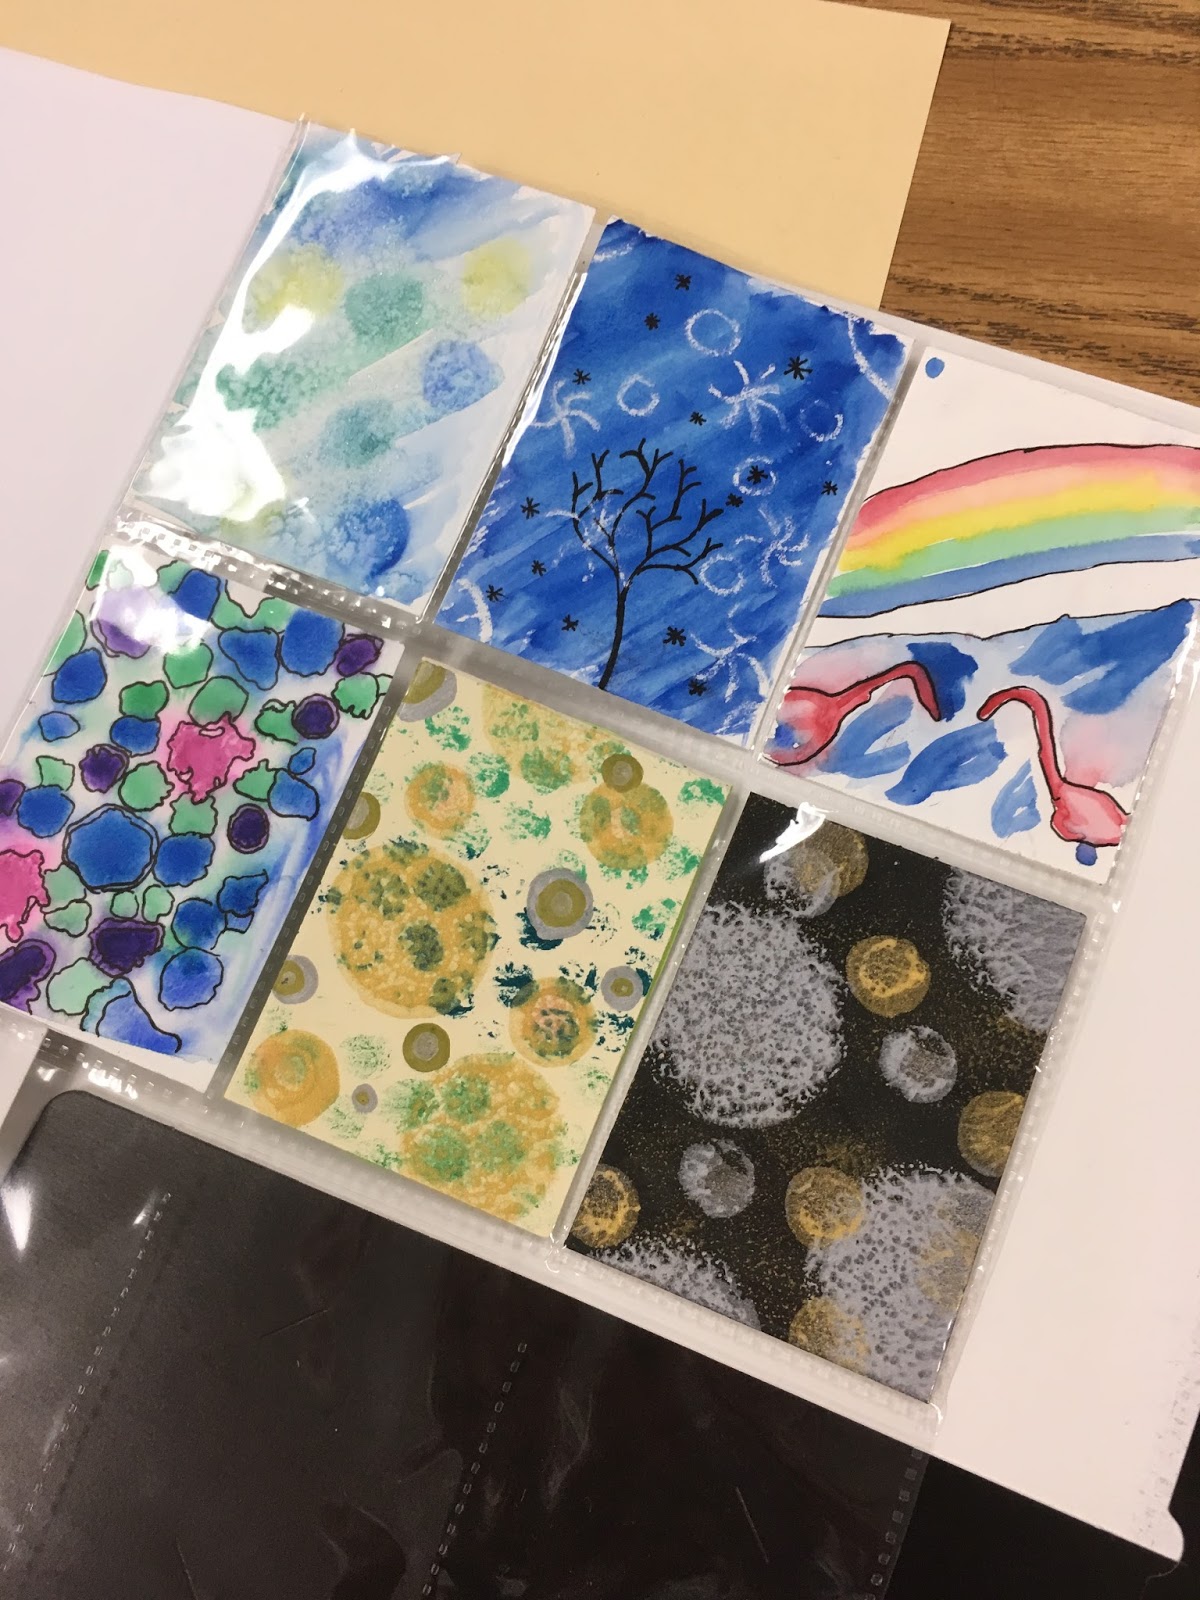
These were some of our Gelli and leaf stamping experimentation cards.


Each weeks art lesson had a theme and the student collected their cards in pocket sleeves in a folder.
This was a great way to check for understanding and making sure they were on task.  
The students also uploaded their cards onto their Creatubbles page. 
Look for me on Creatubbles
I documented our progress as a time line on my school 
@skaggsart twitter account and my Instagram account. 
BTW I also wrote my teacher goal for my professional development to fit this global theme. 


I also ordered the self inking stamp Nic recommended but personalized it for our school. 

Thanks Gina, at lettergirl.etsy.com


We mailed 182 cards on Friday. We will get back 182 cards after the New Year for the students to add to their Trading Card folder. I am also planning a local trade with two other school in Plano that participated in December so that my kiddos can have at least 3 other cards from other students. The hardest part was giving up their cards. I hope that the new year will open their eyes to receiving art from other kids and learning that art is not inside the classroom, but everywhere. 


Comments

  1. This is so, so, so exciting. I love your post. It's going to be so much fun to get the art back from the trade.

    ReplyDelete
    Replies
    1. I can't thank you enough! This activity brightened my day every week as well as my students. The conversations have been wonderful too.

      Delete

Post a Comment

Thank you for visiting and leaving a comment. Beth

Most popular post

Kandinsky Trees

My first graders really need help with their fine motor skills this year. After completing a very successful Kandinsky Concentric Circle painting lesson noted below, I followed up this past week with a tree inspired lesson. Once again, I found my inspiration from  Jen Draw the Line At  and I used her lesson suggestions for this very successful lesson. My student's used Crayola Metallic crayons instead of the Crayola Construction paper crayons and we used juice lids for some bigger circles in the stamping part of the lesson.  Day 1 On day two constructed the trees and circle leaves. I passed out a 12 x 4 inch piece of black paper and had two different sizes of  square paper for the circles. Yes, this was a challenge since we did not use pencil, but we drew with our scissors. Day 2 I will definite repeat lesson for next year! I will be displaying these soon.  Displayed artwork is posted  HERE

Monet's Pond

The Dallas Museum of Art  has a wonderful   Monet Painting  in a beautiful gold frame which inspired me to create this lesson for our Big Art Day which is fast approaching in Texas schools.  For our Big Art day this year I have a Theme....Circle Art!  Themes are the way to go when organizing events.  I love this new lesson that was inspired by one of my favorite artists,  and two favorite bloggers:  Painted Paper and Cassie Stephen's who also use themes.  I ordered the 10 inch cardboard circle rounds for this lesson, the same size  Cassie used in her Dot Day Art .  School Specialty has various sizes. The kids loved painting on this canvas instead of paper.  We read about Monet's garden and look at prints of his masterpieces. I even show them some of my pictures that I took when I   visited his garden in France.   On day one, we painted the pond and the water lily pond on a 10 inch cardboard circle  on the white side with Pr

Clay and Weaving!

I'm brave, I tried a new lesson again.... I can say as we are completing these clay frames that you have to follow some basic rules or you will have broken frames. We have had only 3, but I did make extras.  My 4th graders tackled this lesson with stoneware clay, and finished them with oil pastels, one color of watercolor paint and I painted modge podge on them when dry.   The texture is the key part of the coloring process! I have rollers and rubber texture mats.  At least pencil think and more than 2 fingers in width.  You need some lid tracers and a pin tool. Don't try to cookie cutter it.  I strongly recommend 15 or 19 holes punched with a straw. You must have an odd number!! If they go hole craze, pop out the clay from the straw and plug the holes.  I found the directions for weaving the warp threads here on Cassie Stephen's blog.   I am also doing her plate weaving at the same time with 2nd grade.  This is ho